Setup Your G Router with Computer: A Step-by-Step Guide
Setting up a G router with a computer is a relatively straightforward process that can be completed in a few simple steps. In this guide, we will walk you through the setup process, covering everything from connecting the router to your computer to securing your Wi-Fi network.
Step 1: Connect Your Router to Your Computer
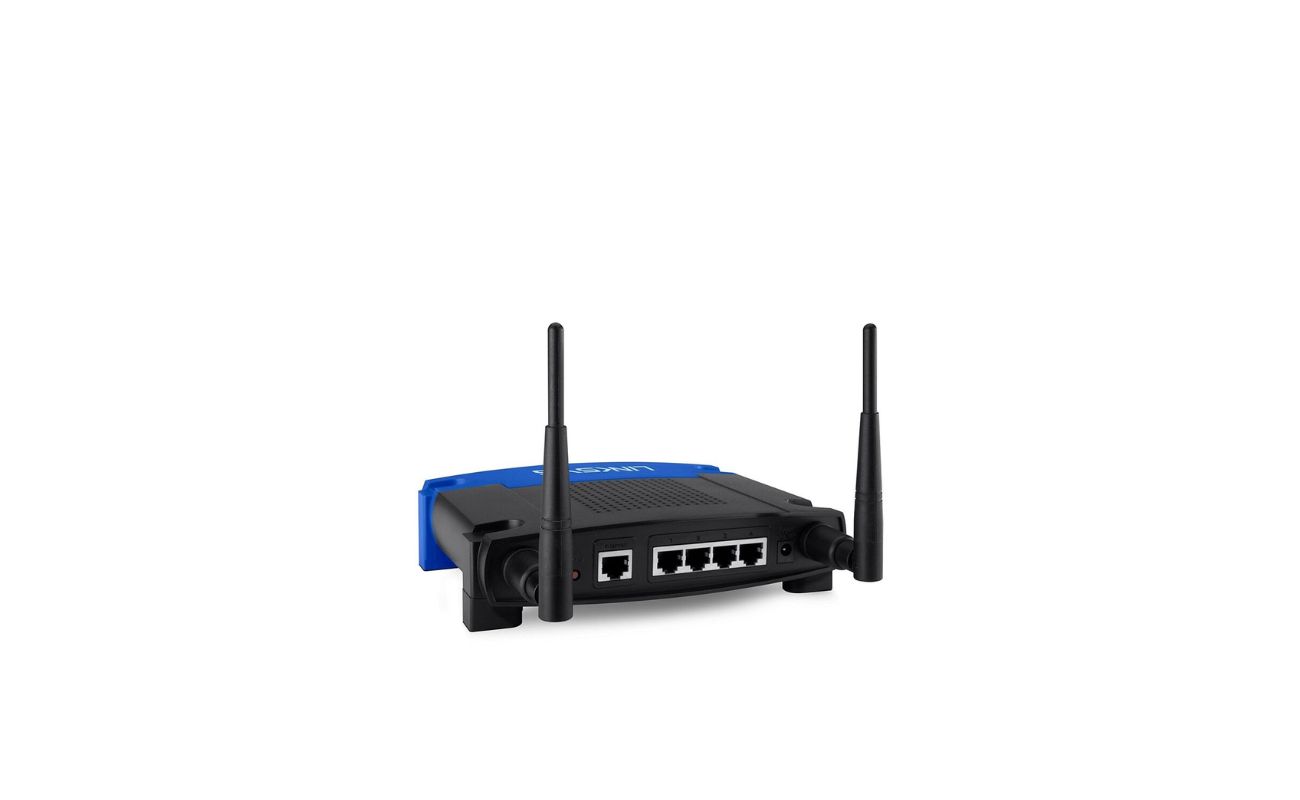
The first step in setting up your G router is to connect it to your computer using an Ethernet cable. This will allow you to access the router's web-based interface and configure its settings. Locate the Ethernet port on your router and plug one end of the cable into it. Then, plug the other end of the cable into a free port on your computer. Once connected, power on your router and wait for it to boot up.
Step 2: Access the Router's Web-Based Interface
Next, you need to access the router's web-based interface. To do this, open a web browser on your computer and type the router's default IP address into the address bar. The default IP address for most routers is 192.168.1.1 or 192.168.0.1. Press Enter to load the page.

.png "NETGEAR Router Installation Step-by-Step Guide")


 - HP")


![[Troubleshooting] Failed Internet access through router - ASUS](https://cdn.techjockey.com/blog/wp-content/uploads/2024/06/11120924/How-to-Setup-a-LAN-Network-Using-a-Switch-_inside.jpg "[Troubleshooting] Failed Internet access through router - ASUS")


