Install CenturyLink Wireless Router: A Step-by-Step Guide
CenturyLink is a popular internet service provider offering a range of plans and services to its customers. One of the key components of their internet service is the wireless router, which enables you to access high-speed internet from anywhere in your home. In this article, we'll take you through the steps to install your CenturyLink wireless router and get online.
What You'll Need
To install your CenturyLink wireless router, you'll need the following items:
- CenturyLink wireless router (C4000 or other model)
- Power cord
- Ethernet cable
- Computer or device with internet browser
- CenturyLink internet service account
Step 1: Unbox and Physically Set Up Your Router
Start by carefully unboxing your CenturyLink wireless router and other equipment. Physically set up your router by placing it in a central location in your home. Make sure it's away from other electrical devices and obstructions.
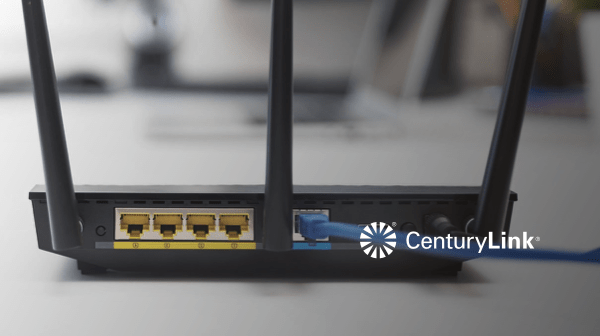
Step 2: Connect the Power Cord and Ethernet Cable
Next, connect the power cord to the back of your router and plug it into a nearby power outlet. Also, connect an Ethernet cable from the back of the router to your computer or device. This will provide a wired connection for the initial setup process.


