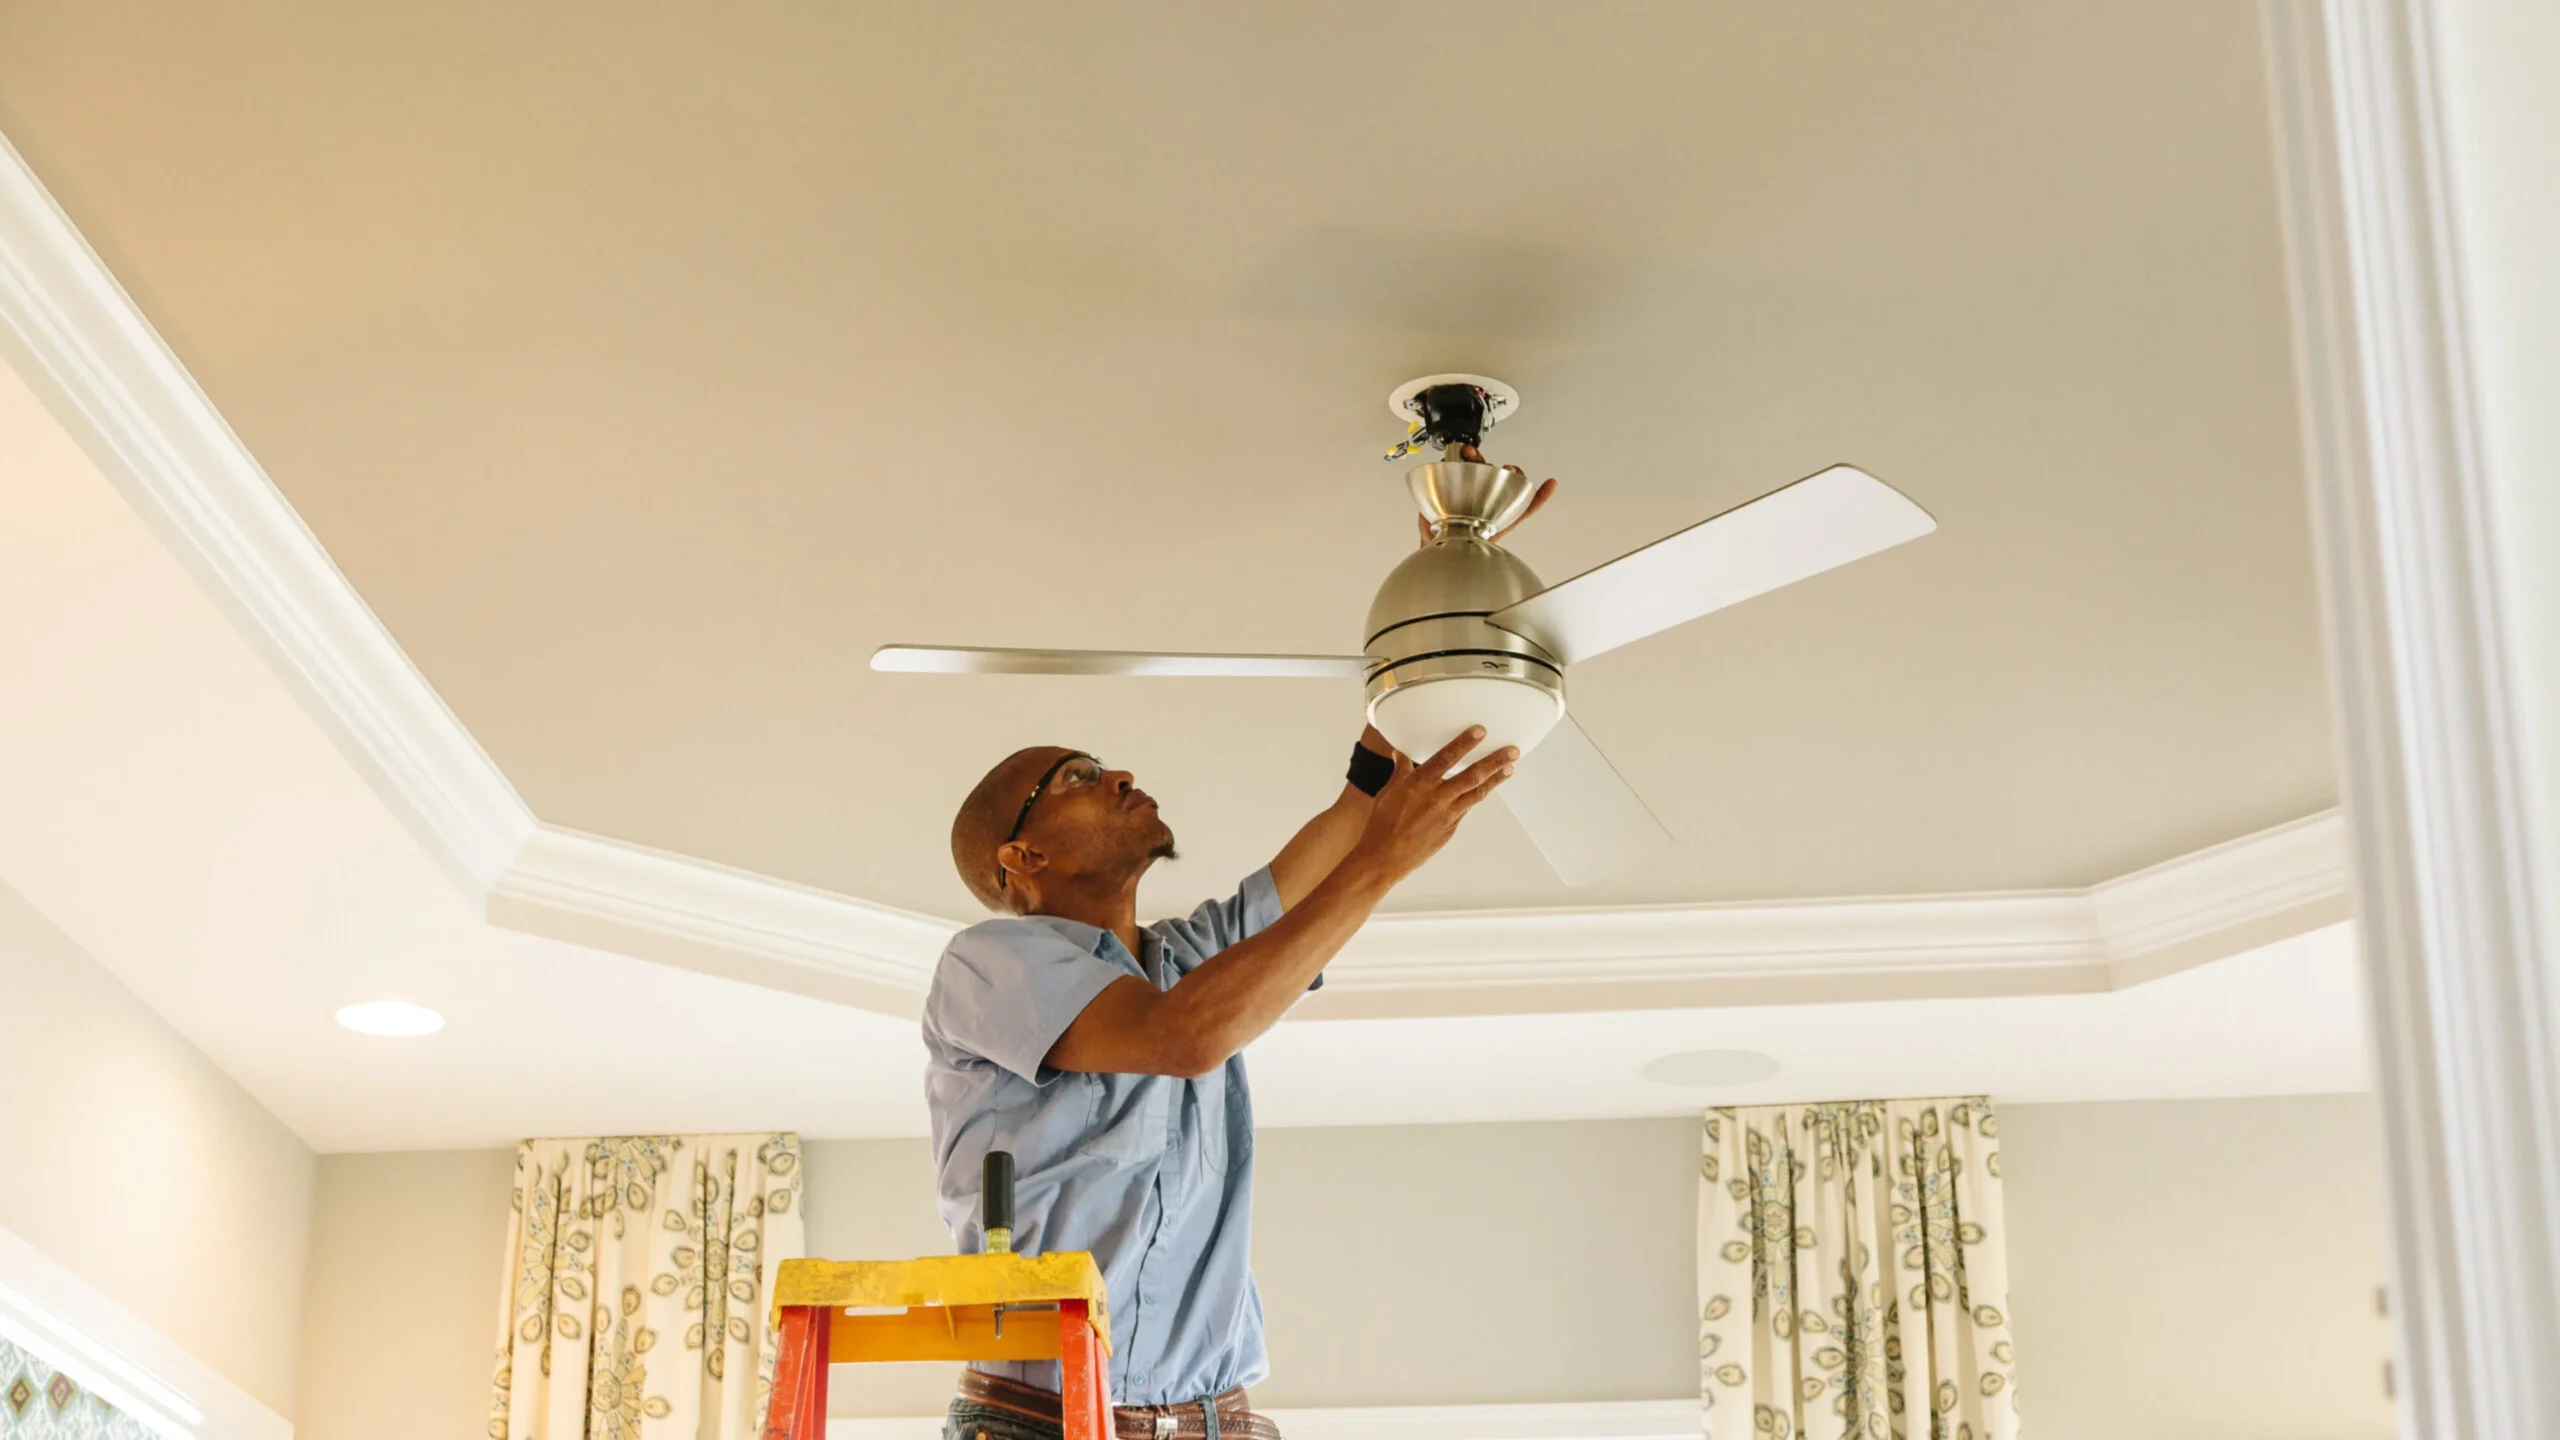
Installing a Ceiling Fan on a Textured Ceiling: A Step-by-Step Guide
Are you planning to install a ceiling fan on a textured ceiling? With the right tools and techniques, you can achieve a seamless installation that adds style and functionality to your home. In this article, we will guide you through the process of installing a ceiling fan on a textured ceiling, covering the essential steps and tips to ensure a successful installation.
Choosing the Right Ceiling Fan
Before installing a ceiling fan on a textured ceiling, choose the right type and size that suits your space. Consider factors such as the ceiling height, room size, and existing lighting fixtures. Look for a ceiling fan with a sturdy and durable design that can handle the weight and movement of the fan blades. Some popular options include Hunter Fan and Minka-Aire, which offer a wide range of ceiling fans that can be installed on textured ceilings.
Tools and Materials Needed
- Ceiling fan with a sturdy and durable design
- Textured ceiling adhesive
- Plaster ring or adjustable hanger hook
- Downrod (if necessary)
- Wiring cable
- Double adapter for wiring connection
- Paint or texture matching the ceiling
- Drop light fixture (if desired)
- Roofing skirt (if desired)
Step 1: Prepare the Ceiling
Before installing the ceiling fan, ensure the textured ceiling is clean and dry. Use a textured ceiling adhesive to attach the ceiling fan to the ceiling, if necessary. This will ensure a secure installation and a smooth ceiling surface. If you're using a ceiling fan with a downrod, ensure it's long enough to allow the fan to hang below the ceiling without obstruction.


")


")


