Ceiling Fan Installation Process

A Visual Journey and Ultimate Guide to Ceiling Fan Installation Process

Expert-Approved Tips for a Seamless Ceiling Fan Installation Process

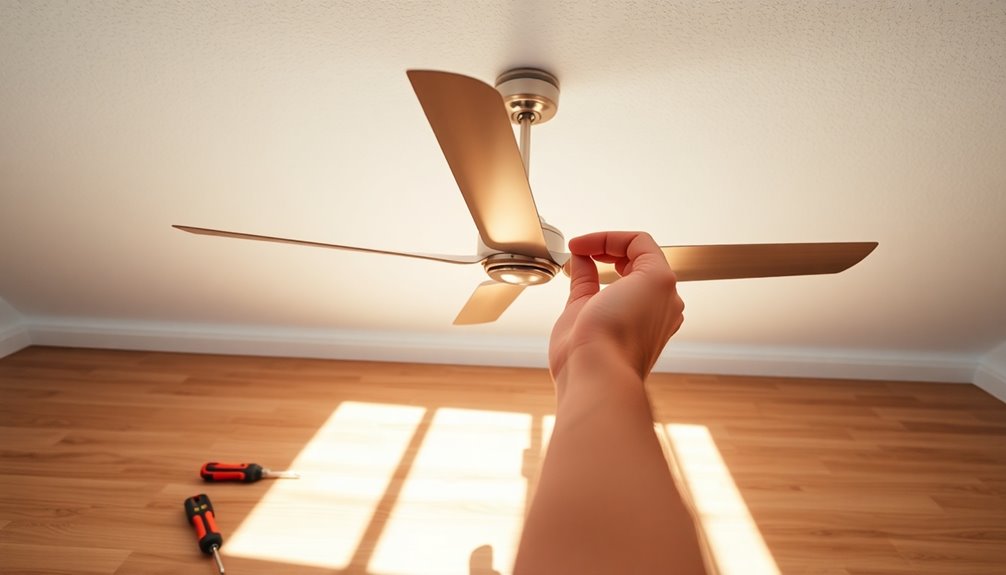
Are you ready to transform your space with a modern and stylish ceiling fan? Installing a ceiling fan can seem intimidating, but with the right tools and expertise, it's a manageable task for beginners. In this comprehensive guide, we'll walk you through every step of the ceiling fan installation process, from selecting the right fan to finishing touches and testing the fan.

Key Benefits of Ceiling Fan Installation

Installing a ceiling fan delivers multiple advantages that make this investment worthwhile:
Ceiling Fan Installation Process

Tools and Materials Needed for Ceiling Fan Installation

Before you start the installation process, make sure you have the following tools and materials: * Ceiling fan mounting bracket * Electrical box and ceiling fan wiring hanger bracket * Wire nuts * Mounting screws * Fan blades * Motor * Remote control (if applicable) * Light kit (if applicable)

Step-by-Step Ceiling Fan Installation Process

The ceiling fan installation process is similar to wiring a light fixture, with a few modifications to accommodate for the extra weight and wiggle of the fan. Follow these steps to replace a light fixture with a ceiling fan in your home: ### Step 1: Remove the Existing Fixture * Turn off the power to the circuit at the electrical panel * Remove the light fixture and any surrounding trim and coverings * Disconnect the wires and remove the old mounting bracket ### Step 2: Identify the New Ceiling Fan Mounting Bracket * Choose the correct mounting bracket for your ceiling fan * Attach the mounting bracket to the ceiling, ensuring it is securely fastened ### Step 3: Install the Ceiling Fan * Attach the fan blades to the motor * Hang the fan from the mounting bracket, ensuring it is level and securely fastened * Connect the wires to the fan using wire nuts ### Step 4: Connect the Wiring * Connect the wires to the electrical panel, following the manufacturer's instructions * Ensure the fan is receiving power and functioning correctly ### Step 5: Add Any Additional Features * Install a remote control or light kit, if applicable ### Step 6: Test the Ceiling Fan * Turn on the power to the circuit at the electrical panel * Test the fan to ensure it is working correctly and safely

Gallery Photos

Related Topics

Trademark Search Examination CanadaGarden Light Ideas For Black Kůwell GardensTrademark Search By ModelUnique Tile Backsplash IdeasCarpet Care Services And MaintenanceSecure Your Home Network Router ConfigurationGreat Natural Skincare For Sensitive SkinHome Theater Installation Solutions For Smart Homes With Home TheatersLow Cost Bathroom TileAffordable Glass Bathroom TilePrivate Office Space For Retired ProfessionalsPodcasting Bundle For Podcast&Amp;Audio EditingKitchen Renovation General ContractorOffice Space With High Speed Network ConnectivityExterior Siding Replacement For Homes With Brick FacadesCanadian Trademark Infringement SearchGlp-1 Weight Loss Medication ResearchDrywall Hole Reinforcement Services Near MeOpen Concept Interior Designers Near MeG Network Setup For Mobile Device ManagementRenewable Energy Fogger GunDropshipping Us Suppliers
📜 DMCA ✉️ Contact 🔒 Privacy ©️ Copyright