Solid Wood Flooring Installation: A Comprehensive Guide
Solid wood flooring has been a popular choice for homeowners for centuries, offering a timeless and elegant appeal to any room. Not only does it add warmth and character, but it also increases the value of your home. However, installing solid wood flooring can be a daunting task, especially for those who are new to DIY projects. In this comprehensive guide, we will walk you through the process of installing solid wood flooring, covering preparation, layout, cutting, and fastening.
Preparing the Subfloor
The first step in installing solid wood flooring is to prepare the subfloor. This involves checking for any irregularities, such as unevenness, cracks, or moisture damage. It's essential to correct any problems before proceeding, as they can cause hollow spots between the floor and subfloor during installation. To ensure a solid and secure installation, make sure the subfloor is level, clean, and dry.
Materials Needed:
- Solid wood flooring planks
- Underlayment material (optional)
- Flooring nails or staples
- Wood glue (optional)
- Drying time-wax pen
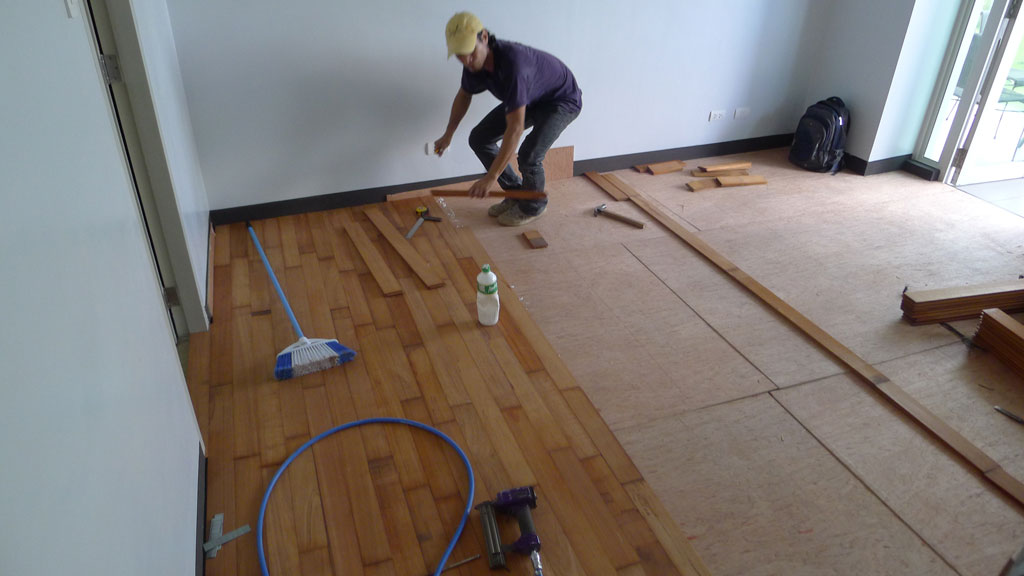
Once the subfloor is prepared, it's time to lay out the flooring. Start by measuring the room and determining the number of planks needed. Use a chalk line to mark the center point of the room, and then snap a line along the length of the room to guide your installation. This will help you achieve a uniform and symmetrical look.


")
:max_bytes(150000):strip_icc()/installing-hardwood-floor-170040982-582b748c5f9b58d5b17d0c58.jpg "7 Hardwood Installation Methods Comparison That Pros Don't Share")


")

 | Floor & Decor")


")


 - YouTube")
