Setup Linksys Router at Home: A Comprehensive Guide
Setting up a Linksys router at home can be a daunting task, especially for those who are new to networking. However, with the right guidance, you can quickly and easily install your Linksys Smart Wi-Fi router using the Smart Setup Wizard. In this article, we will walk you through the step-by-step process of setting up your Linksys router at home, from unboxing to getting your WiFi up and running in minutes.
Unboxing and Initial Setup
Before you begin, make sure you have all the necessary components, including the Linksys router, power cord, Ethernet cable, and a computer or mobile device. Once you have unpacked the router, power it on and wait for the lights to stabilize. This is the first sign that your router is properly powered on.
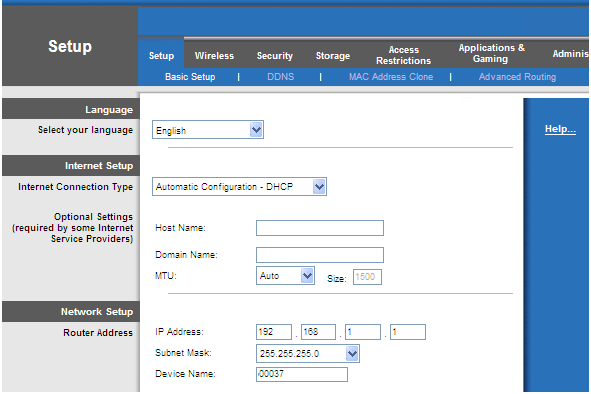
Next, connect your computer or mobile device to the router using an Ethernet cable. Open a web browser and navigate to the Linksys Smart WiFi website. Log in to your router using the admin username and password found on the underside of the router. Once logged in, follow the on-screen instructions to complete the initial setup process.
Configuring Wireless Settings
After completing the initial setup process, you will need to configure your wireless settings. This includes setting up your WiFi network name (SSID), WiFi password, and other advanced settings. To access these settings, navigate to the Advanced Wireless Settings section of the Linksys Smart WiFi website.


 Support - Linksys Support")


