Aluminum Garage Door Installation: A Comprehensive Guide
Installing an aluminum garage door is a unique task that requires expertise in both carpentry and mechanics to ensure a safe and effective setup. In this article, we will walk you through the step-by-step process of installing an aluminum garage door, ensuring a seamless and professional result.
Choosing the Right Aluminum Garage Door
When selecting an aluminum garage door, consider the material's durability, corrosion resistance, and aesthetic appeal. Look for a door manufactured with high-quality aluminum alloys that are resistant to rust and wear. Additionally, choose a door with a powder-coated finish to enhance its lifespan and visual appeal.
- Lightweight yet durable aluminum panels
- Corrosion-resistant finish
- High-capacity hinges for smooth operation
- Easy-to-valve and operable soft starters
Tools Required for Aluminum Garage Door Installation
Before commencing the installation process, gather the necessary tools, including:
- Socket wrench (10mm, 12mm, and 14mm)
- Wrench for adjusting hinges
- Drill press and bits
- Rubber hammer
- Flexible scraper (optional)
It's essential to follow the manufacturer's specific installation instructions for your particular aluminum garage door, as each model may have distinct requirements.
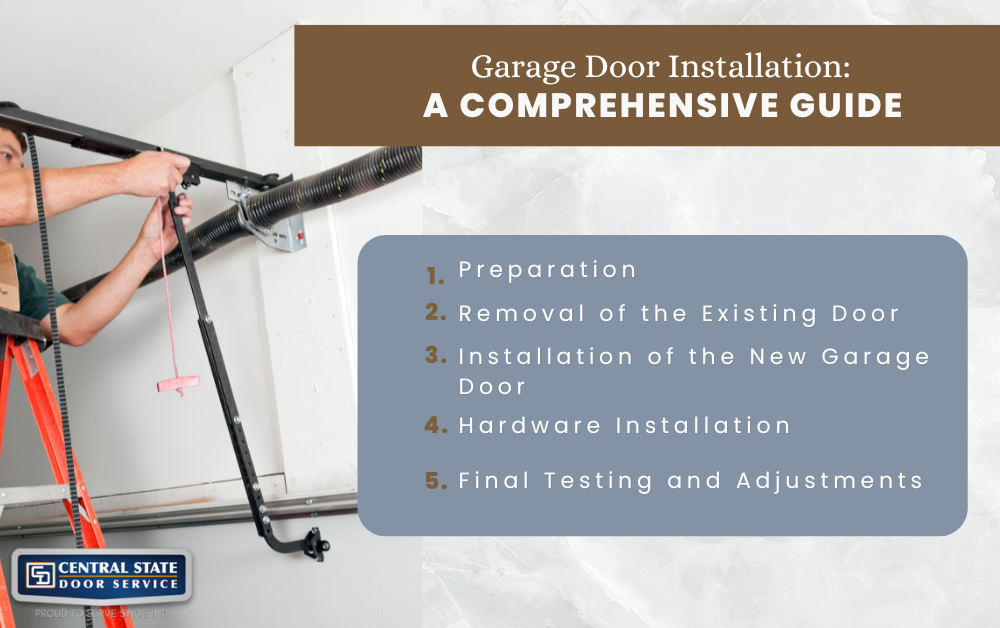
Preparation Steps
Before commencing the aluminum garage door installation, ensure the following steps are completed:
- Clear the workspace to prevent clutter and tripping hazards
- Secure the area with portables or subfloors
- Tape pipes and electrical cables
- Set-up ergonomic lifting devices as necessary
- Check foundation clearance around the door


: Home Service Pros")


